
I’ve been intrigued by all the images of Midori Traveler’s Notebooks on Pinterest and Instagram. Intrigued enough to look into buying one, but then a little scared off by the price. It’s a lot of money to pay for something I wasn’t sure that I would use.
So then this happened: a homemade travelers notebook from mostly recycled materials.
First up I checked out the brilliant video tutorial by Ray Blake – Making your own Midori-style Traveler’s Notebook. This video walks you through the whole process – cutting the leather, punching holes, threading the elastic, and more.
I gathered my supplies – a grotty, dusty, folded piece of leather that came off an old lounge chair, some elastic for the bands (the only item I purchased), paper from a couple of half-used notebooks, colourful pages from an old childrens book, embroidery thread remnants to bind the notebooks.
I spent a day scrubbing the leather clean (it really was disgusting!) and stretching it out to dry flat. It cleaned up beautifully. Once it had dried I whipped up the leather cover as per the video instructions above and then used the paper and thread to make some inserts. It turned out reasonably well. Certainly well enough to give this style of notebook a whirl and see if I like using it.
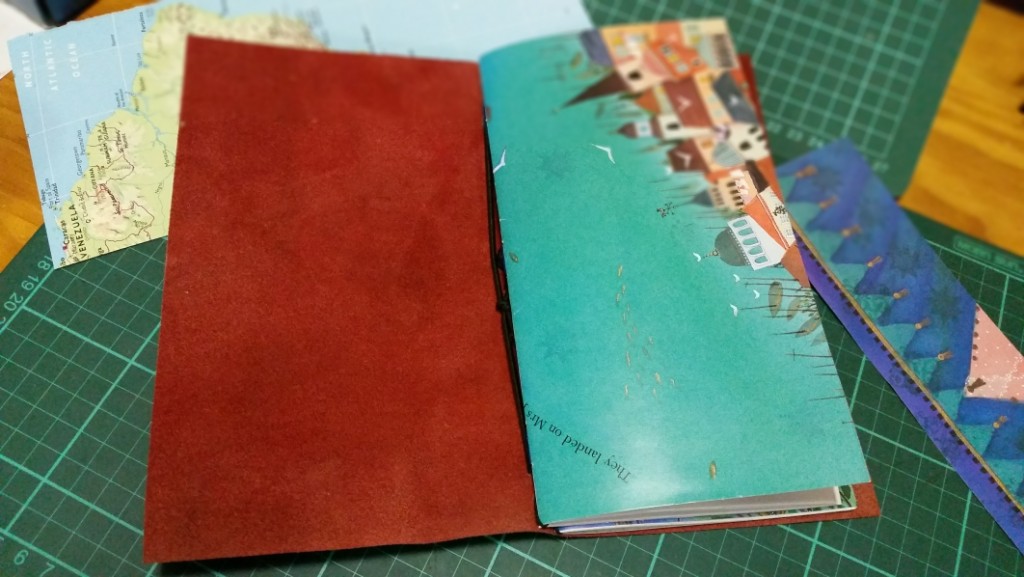
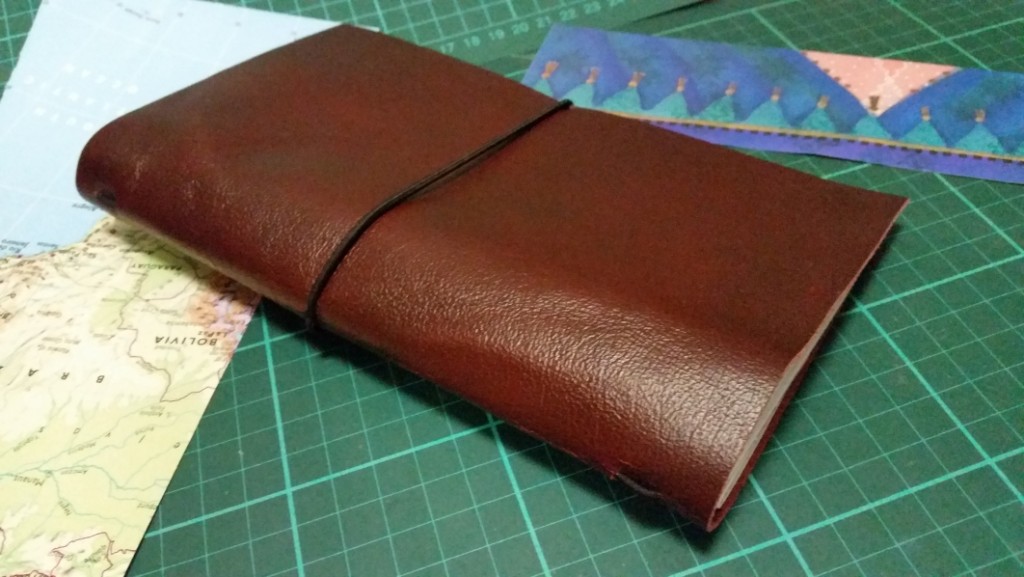 The photo doesn’t show the colour up accurately. It’s not brown, it’s actually a lovely deep maroon colour with a red interior.
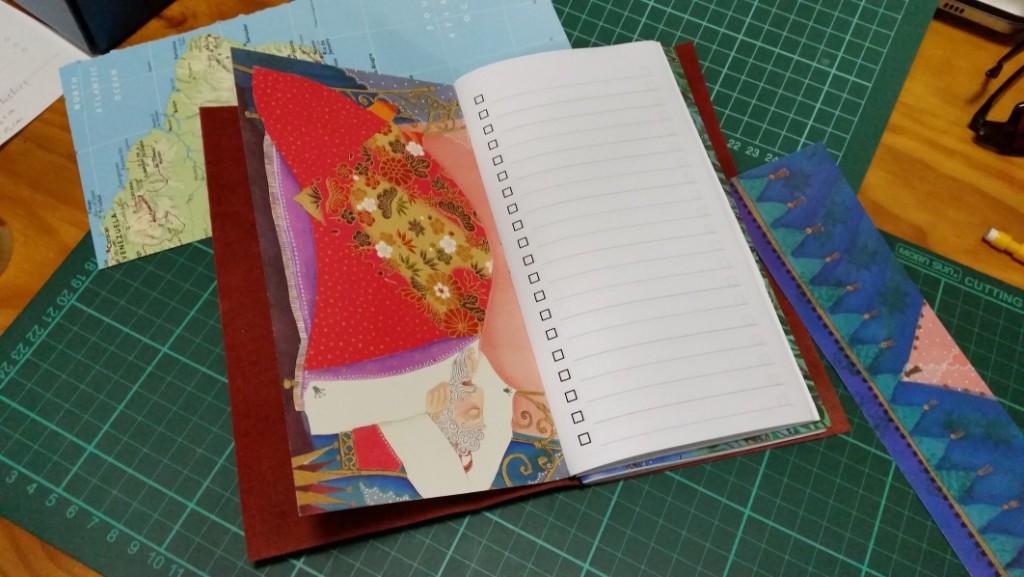 The Task List insert has pages I printed onto scrap white paper.
Notebook inserts back-to-back. I love the colours.
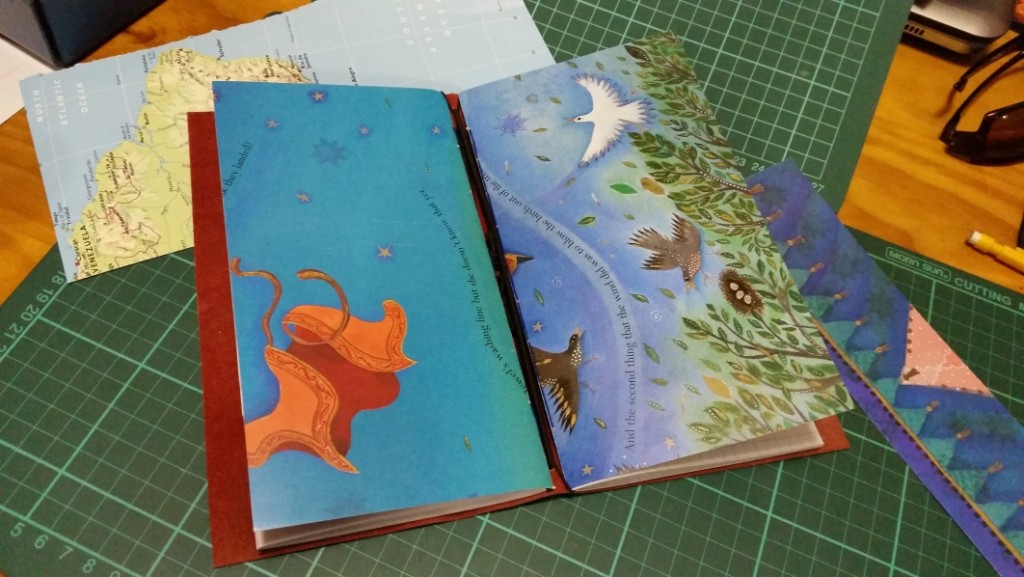
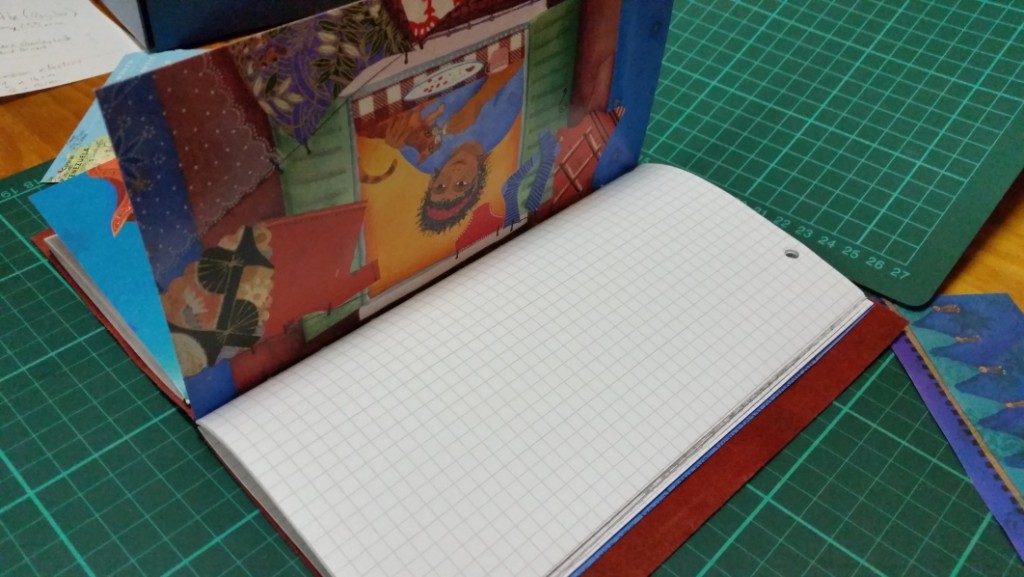 I couldn’t avoid including the punched holes in the grid paper, but figured that’s what using recycled materials is all about 🙂
Lessons learned
- The scrap leather I used wasn’t the best choice for something that needs to take a fold. It’s showing signs of tiny cracks along the spine. Not a problem for a first attempt though.
- The elastic could have been a fraction thinner.
- The inserts are easier to bind first and then cut to size with the guillotine.
- The inserts I made are only 20 pages. They could easily have been 40 to 60 pages. Thicker inserts would also give the notebook more rigidity.
Do you use this style of notebook? Did you purchase yours, or did you “roll your own” as I did?