I’ve been tweaking my Inner-B Mum Organiser system a little to fit the way I work better. The diary/planner section is absolutely perfect and fits me to a T, so no need for any customisation there, but I did need to add a few new dividers to keep my project and study information separate and organised.
The organiser itself takes A5 sized pages and fits the Filofax A5 six-ring punched inserts, so I started by looking at the Filofax Shop to see what was available. They had a set of six plain cream dividers that would have done the trick, but they weren’t exactly cheap.
The organiser will also fit the Collins Debden inserts, so that’s where I headed next. Although they’re meant for a seven-ring binder, the multi-hole punched system allows them to fit a number of different ring configurations. The drawback is that the pages are a little taller and narrower than A5, so dividers would be too narrow for my purposes.
Here’s a pic of the Debden inserts in my binder. You can see the extra long holes that allow it to fit various systems.
And here’s the same Debden insert laid over a piece of green A5 paper. You can see that the Debden page is slightly taller and narrower than the A5.
After seeing a number of people on Pinterest and Filofax fan sites had made their own dividers from card I thought this was the best way to go. For this first attempt I used some patterned scrapbooking cardstock I had on hand.
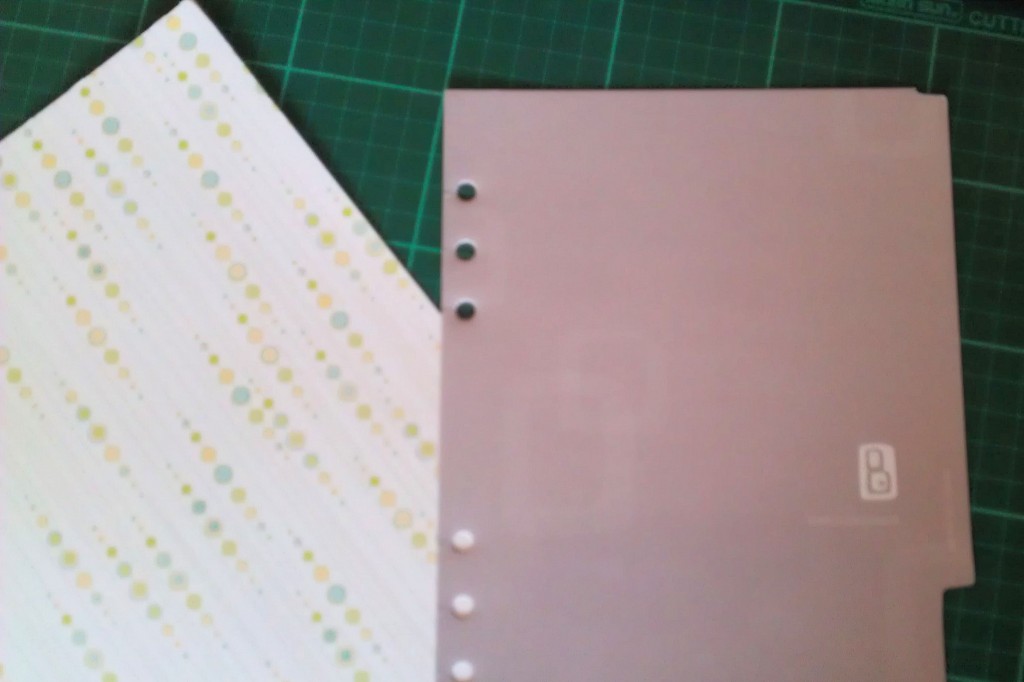
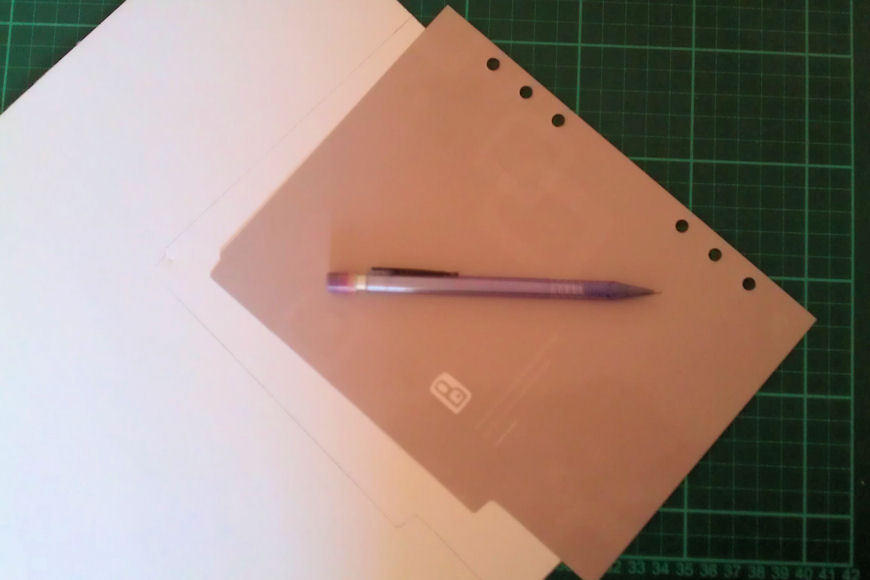
Using an existing divider as a template, trace around it on the cardstock and mark where the punch holes need to go. Cut around the traced lines and voila, a brand new divider!
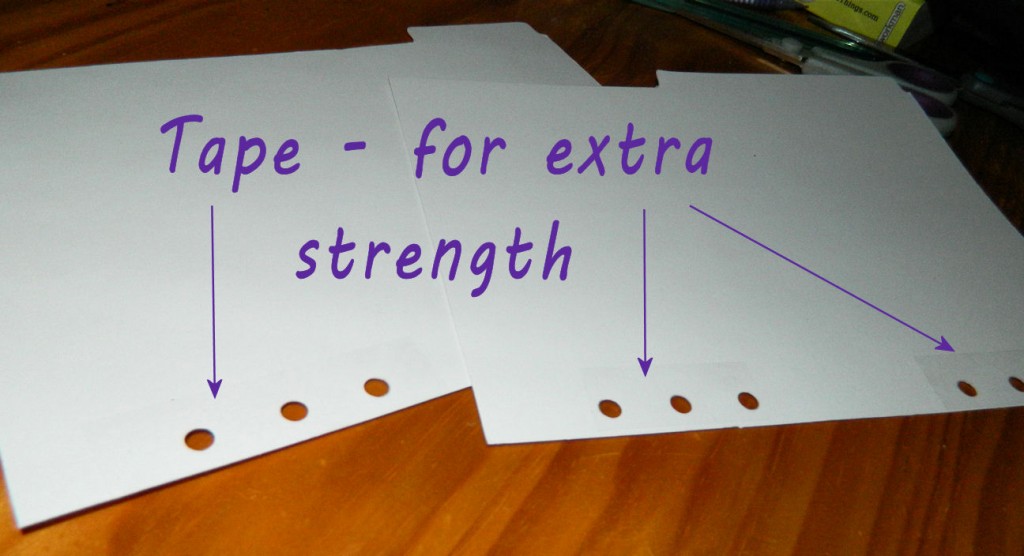
Once the dividers are cut out, add tape to the edge for reinforcement and punch the holes.
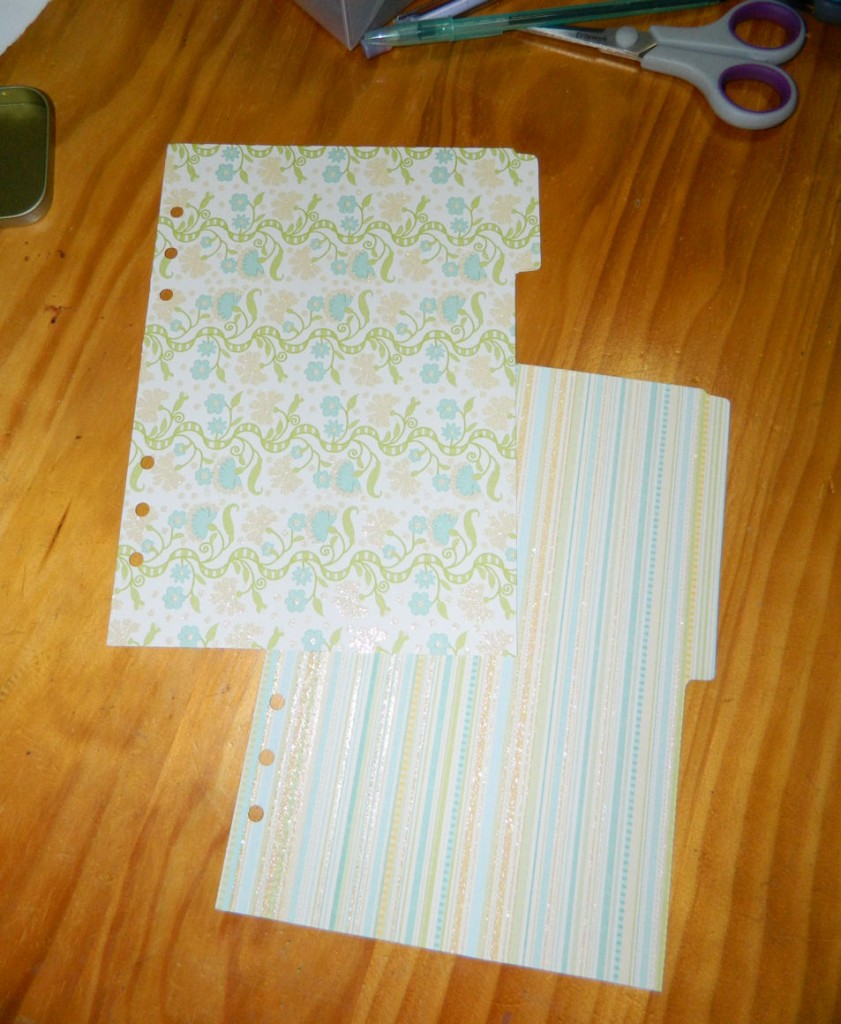
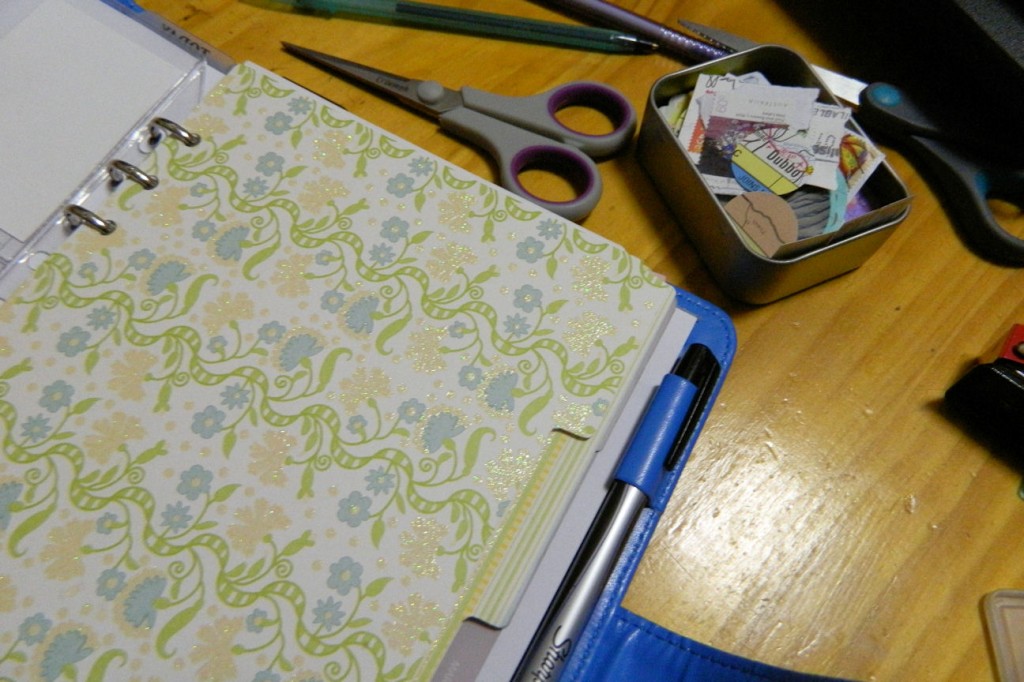
Here’s a couple of the dividers I made:
And the dividers in action in my organiser:
I just used cardstock I had on hand this time. Next time I think I’ll try to get some blue patterned cardstock to match my binder a little better. The great thing about these homemade dividers is that I can change and update them as I wish 🙂


Hi! Fantastic! I threw my dividers (I thought the quality was awful and the colour too!) last year as I thought they would come with the 2013 refill but they don’t. I actually love what you’ve made and I am going to use your idea and tips. Could I ask you what kind of card you use to make the dividers. Thank you.
Hi Virginie! The card I used for the dividers was heavier weight 12×12 scrapbooking pages. I’m not sure what their exact paper weight is, but they’re comparable in thickness to some 210gsm plain cardstock I have. I purchased them in a couple of years back from Big W.
They are a little thicker than the dividers that came with my organiser, and surprisingly seem to be holding up better. Being at the front of my organiser I thought they’d be showing a lot more wear and tear by now, but still look nice and neat. In contrast the organiser dividers are all dog-eared and the laminate is beginning to peel from them.
I got dividers with my 2013 refill, no choice what colour though and they are a rather boring greyish colour.
Making your own is a wonderful idea. lots of colour choices then!